I swear I was busy a couple of weeks ago and now since its closer to Christmas I've decided to take a little break to blog a little.
Just a couple of new updates.
1. I bought a new website!! YAY!!
My current flash site has been bothering me/driving my crazy. It's like his/her has its own character. Sometimes it loads and sometimes it just doesnt!
Argh. And I've always wanted a html so I bought one that has both! Perfect.
What's left is to fill it up with pictures and let it go LIVE!
Well, not so soon yet, most likely sometime next year in JAN 2011. Hopefully!
*fingers cross*
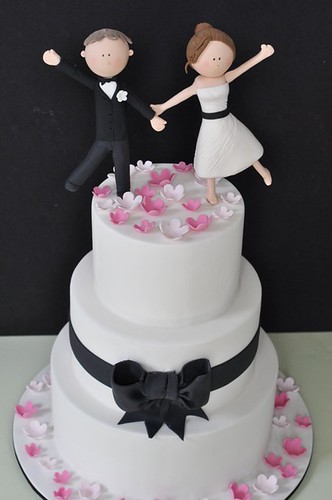
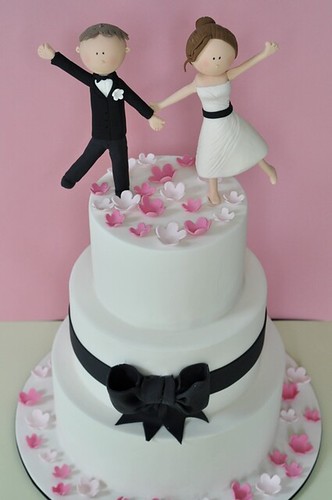
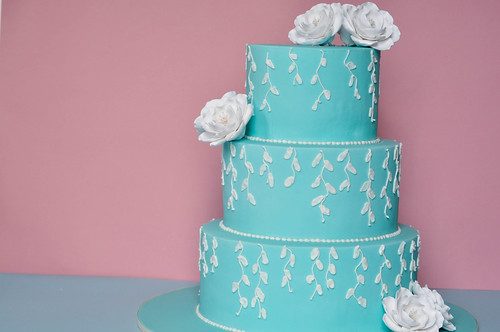
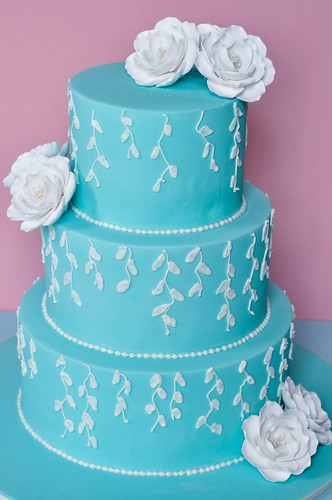
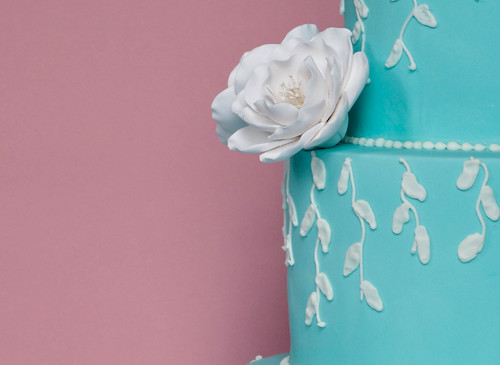
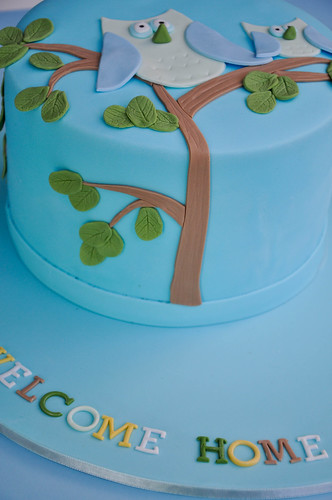
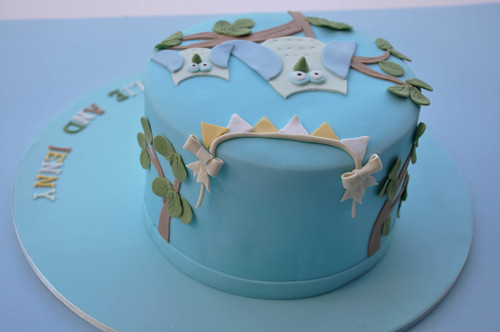
To complete my new site, I've also made a new couple of new model cakes. As you all know, since my last move, I had to throw away all my past model cakes. Mostly dues to them being covered with loads of dust, fading and yada yada yada so I guess its just another excuse for me to make more model cakes. It's fun being able to just randomly choose the colour I like for the day and putting random things together. This time I made no research, had no sketch and just made things that came to my mind. Cool yea? I call it my Random Creativity time :p
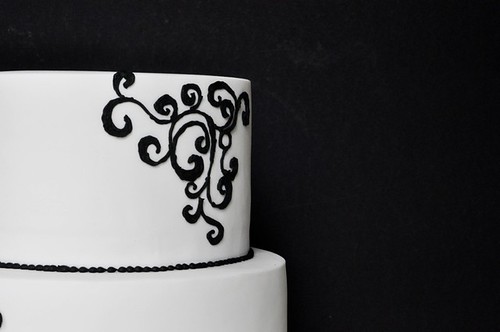
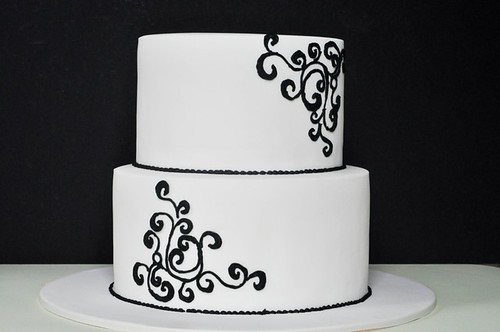
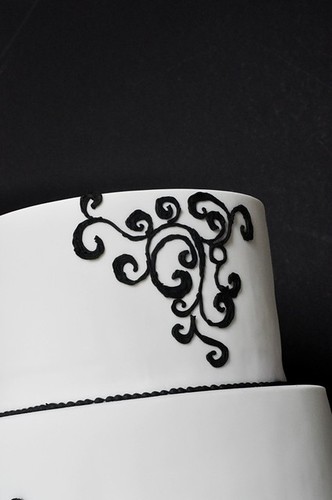
Here's a little sneak peak of one of them. I call it the Black and White Beauty. It isn't quite complete yet, still missing something but I might just leave it cause if I do add something, it might not fit into my new shelf!
Speaking of shelves, yes I made a new cake shelf. So exciting! It isn't the best furniture in the house but I'm proud cause I made everything myself. When I get a chance to snap a picture I will upload it!